Wildlife photography in harsh lighting conditions is like trying to paint with the sun glaring directly into your eyes. How well can you see colors when you need to deal with the glare of direct sunlight? That’s more or less what happens to your sensor too! This intense light can create significant challenges for photographers. Bright, overhead sunlight often casts harsh shadows and washes out colors, making it difficult to capture realistic and compelling images.
It’s not all bad news, however. With the right techniques and some changes to how you think about photography in these conditions, you can turn harsh lighting into an advantage, producing stunning and vivid images. Let’s dive deep into some of the strategies and approaches to help you thrive in harsh lighting conditions.
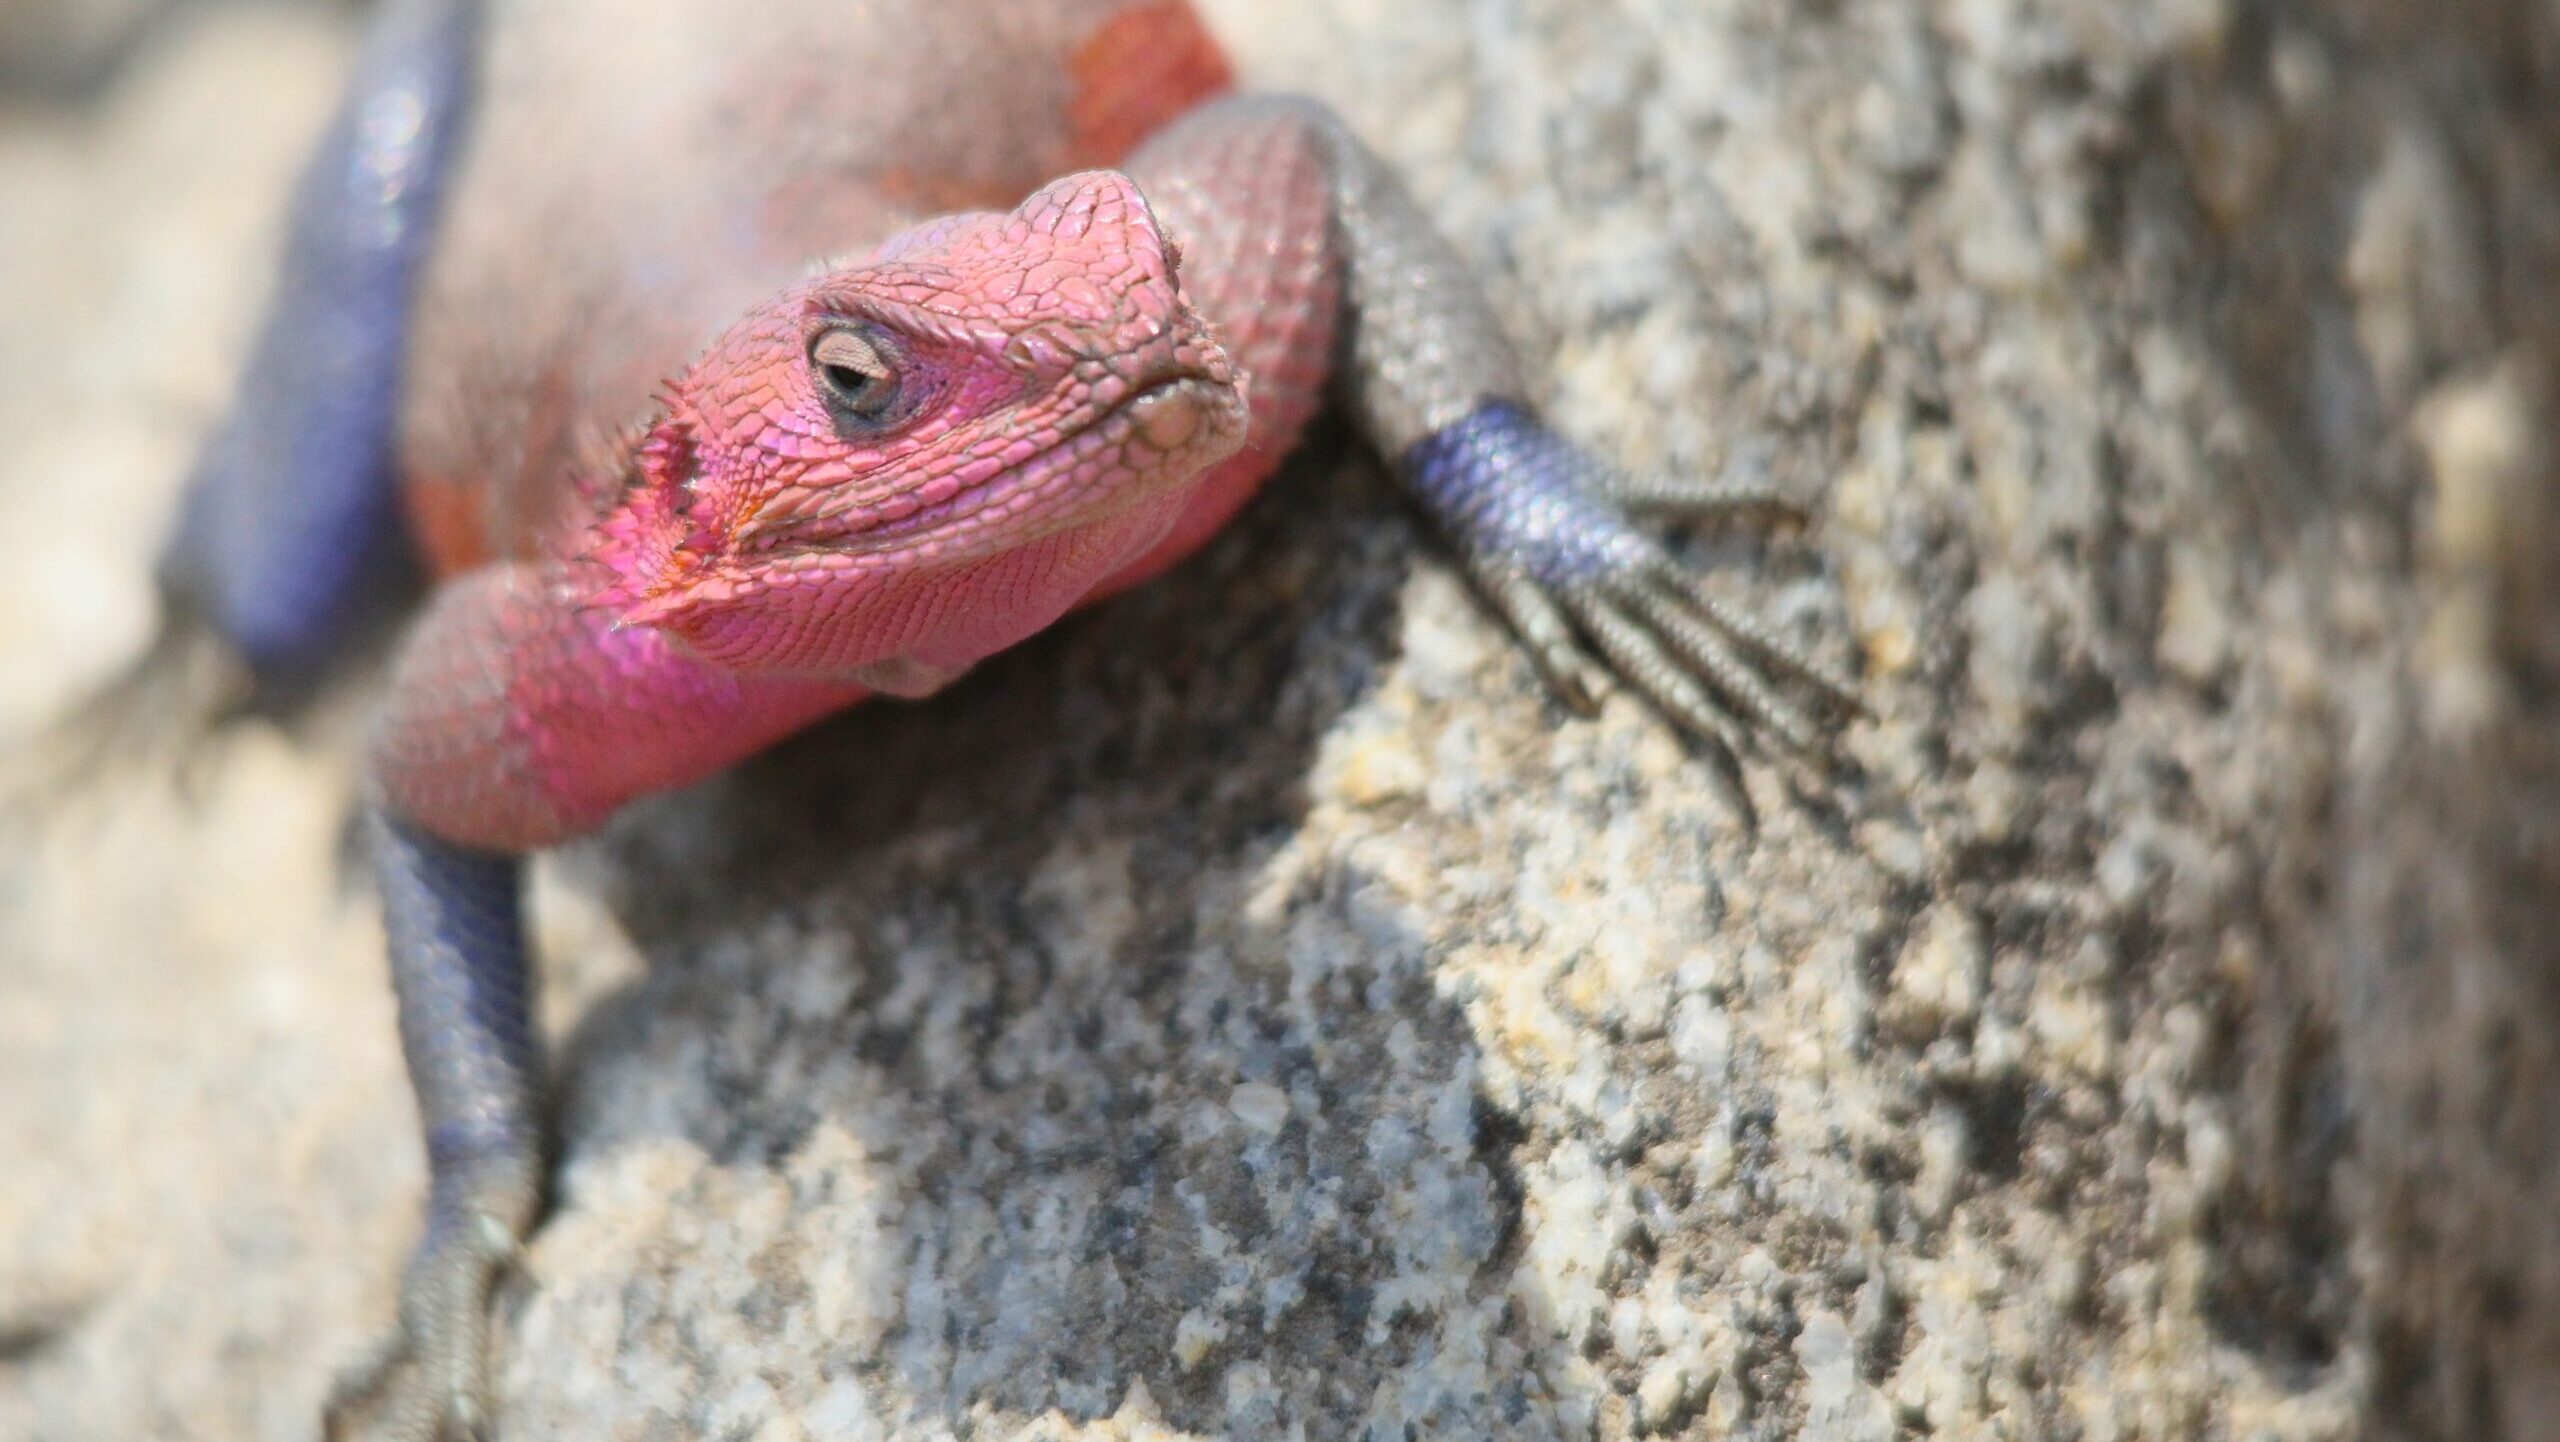
Shooting in harsh light, typically during late morning, noon, and early afternoon, is not for the faint-hearted:
A polarizing filter is your new best friend. Not only does it reduce glare, but it also enhances colors. Frans Lanting, a National Geographic legend, swears by polarizers to bring out the richness in an animal’s coat or feathers.
Trust me on this one—shoot in RAW. It preserves more color information than JPEG, giving you greater flexibility in post-processing. A basic point perhaps, but important not to forget!
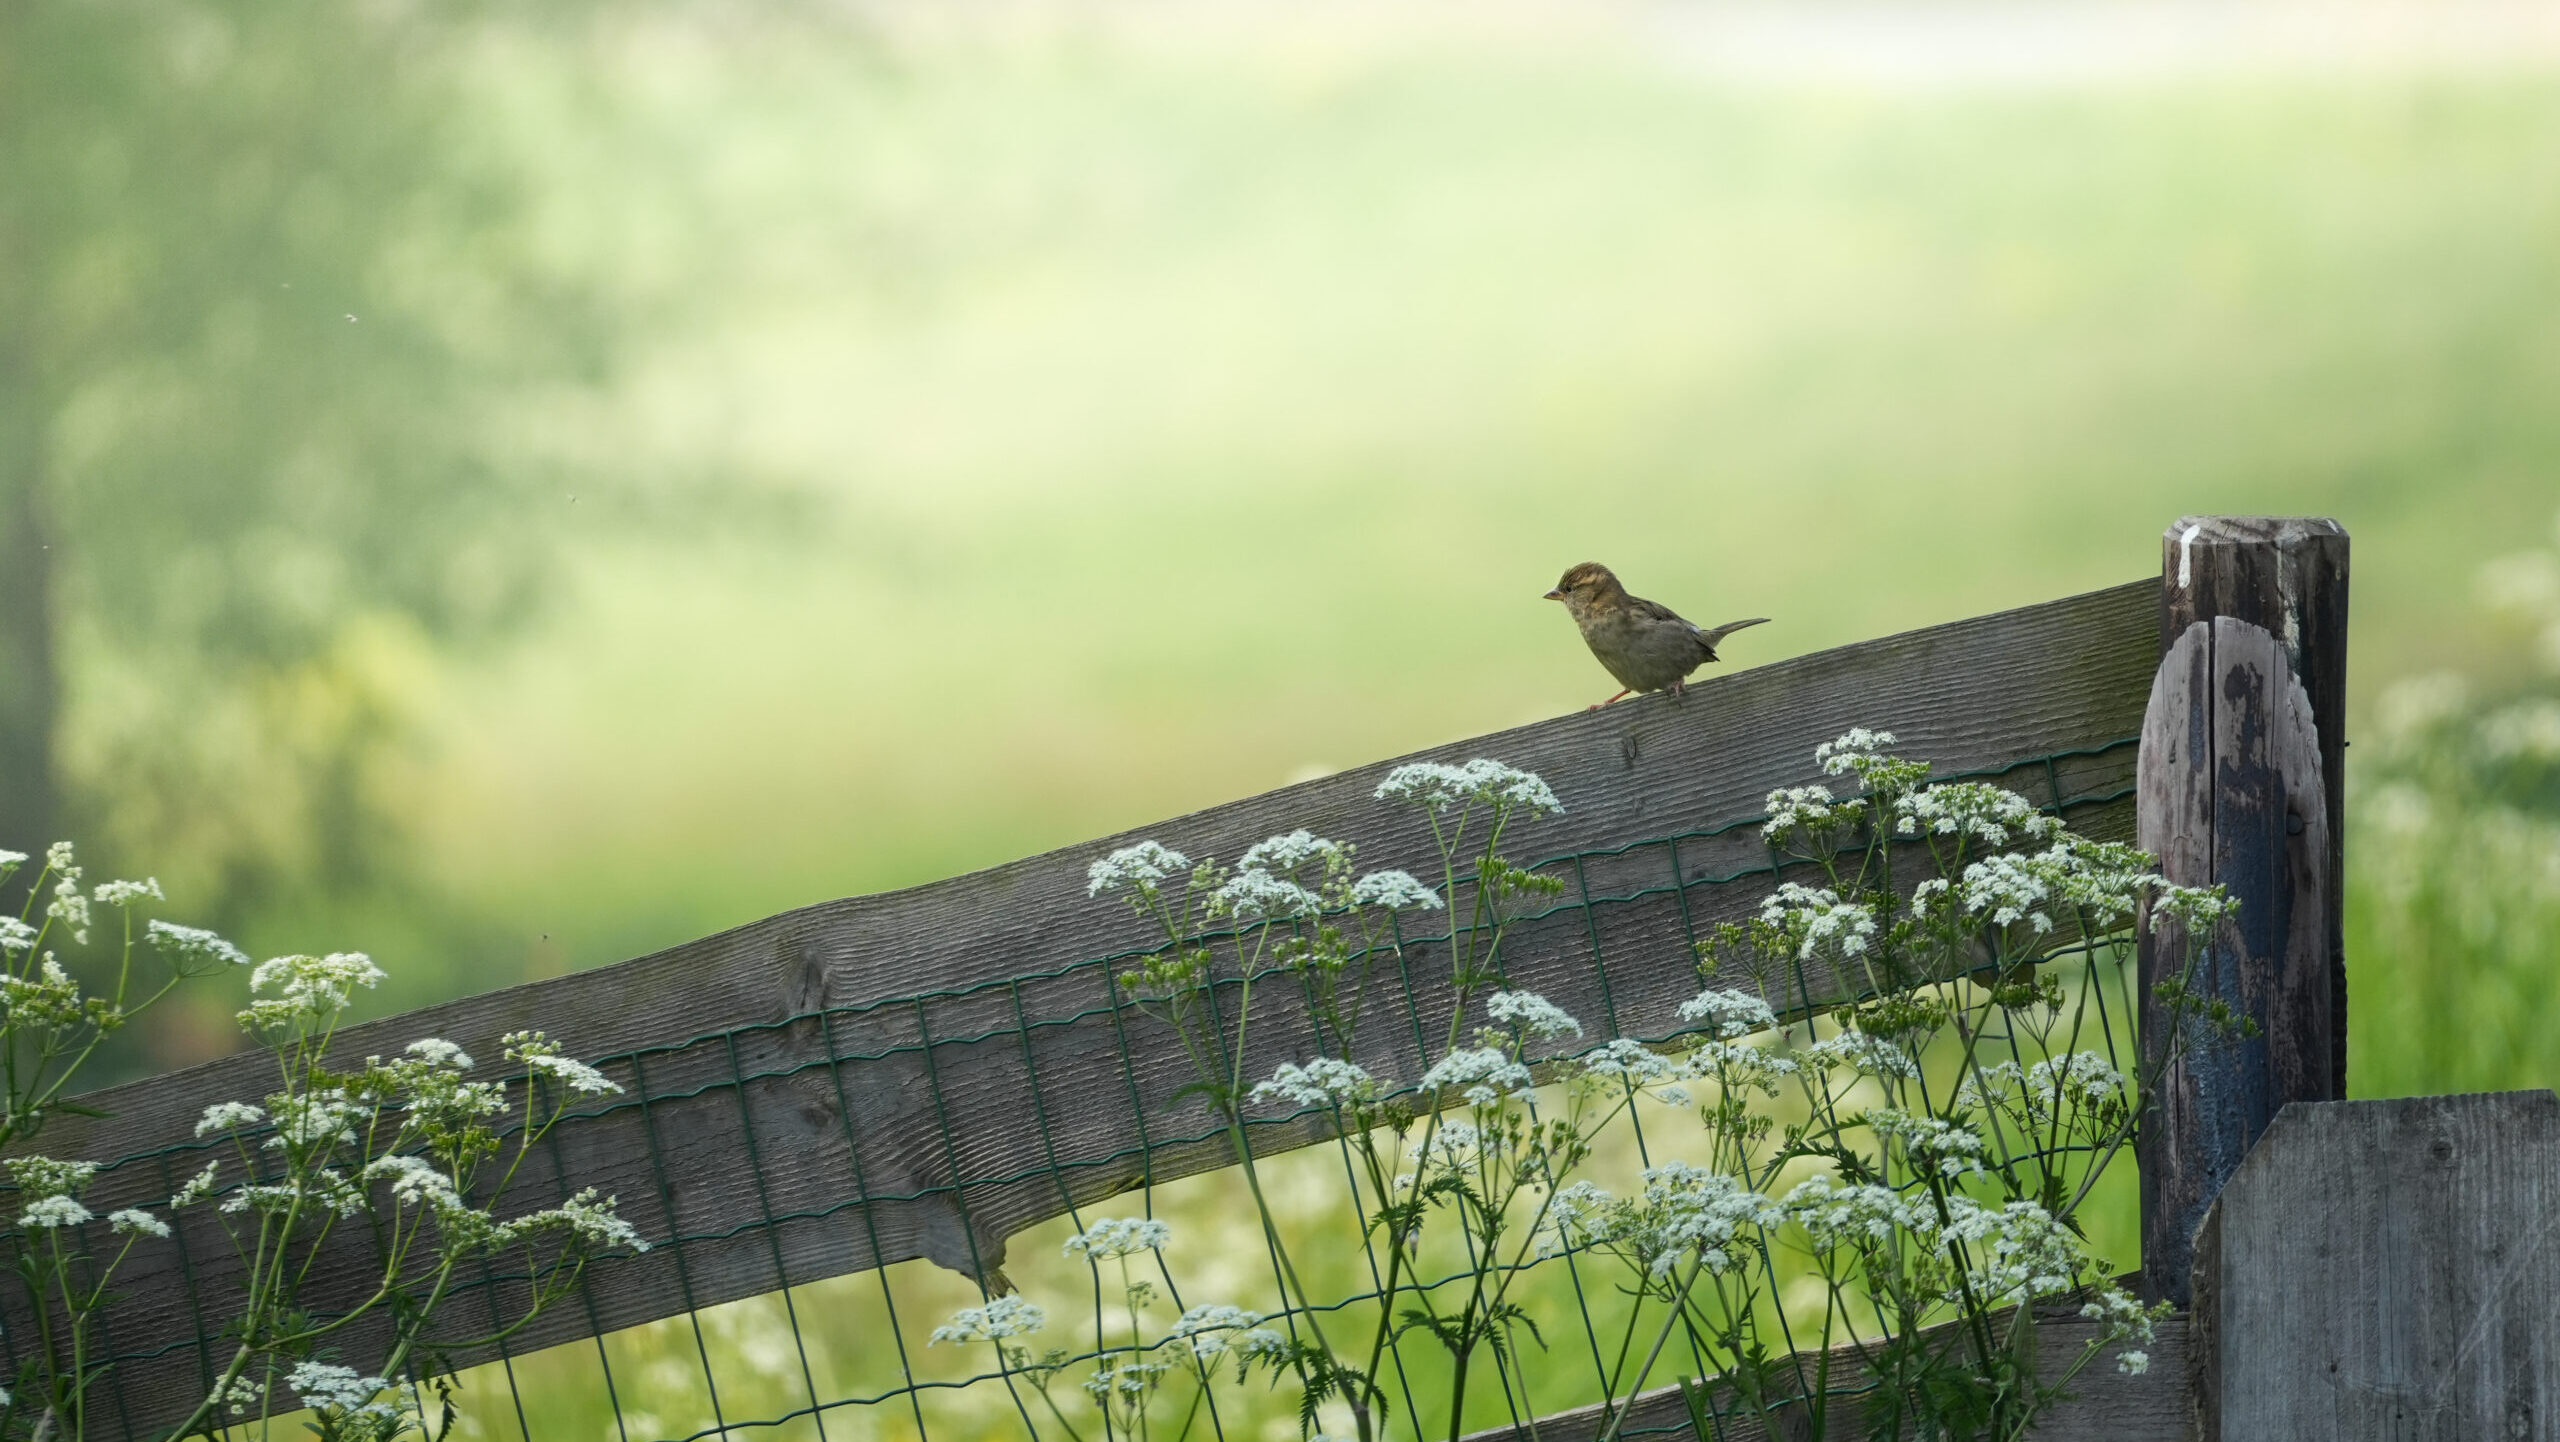
Use natural reflective surfaces like water, sand, or light-colored rocks to bounce light onto your subject. This can fill in shadows and enhance natural colors in your scene. In urban areas buildings and walls work just as well. Keep your positioning in mind though! Carefully position yourself and your subject to make the best use of these natural reflectors, adjusting angles to optimize light reflection.
Slightly overexposing your shots (+0.3 to +1.0 EV) helps avoid that dull, washed-out look. By using exposure compensation to balance harsh lighting you can capture more details in shadows and mid-tones.
Seek out shaded areas to shoot in, where the light is softer and more even. Natural shade will maintain the colors of your subjects and give you more oppurtunities to come up with interesting and creative compositions. When natural shade isn’t available, use a portable diffuser to soften the light, or simply seek out areas nearby with more ample amounts of shade. It’s usually better to move to an area where you’re more free to compose images as you wish.
Manually set your white balance using the Kelvin scale to correct the color temperature and enhance accuracy. You can also try experimenting with white balance settings to achieve the perfect color tone for your images and artistic style.
1. Shadowed Background with Lit Foreground:
2. Lit Background with Shadowed Foreground:
Position your subject against colorful backgrounds like flowering plants or colorful foliage to enhance the overall vibrancy of your images.
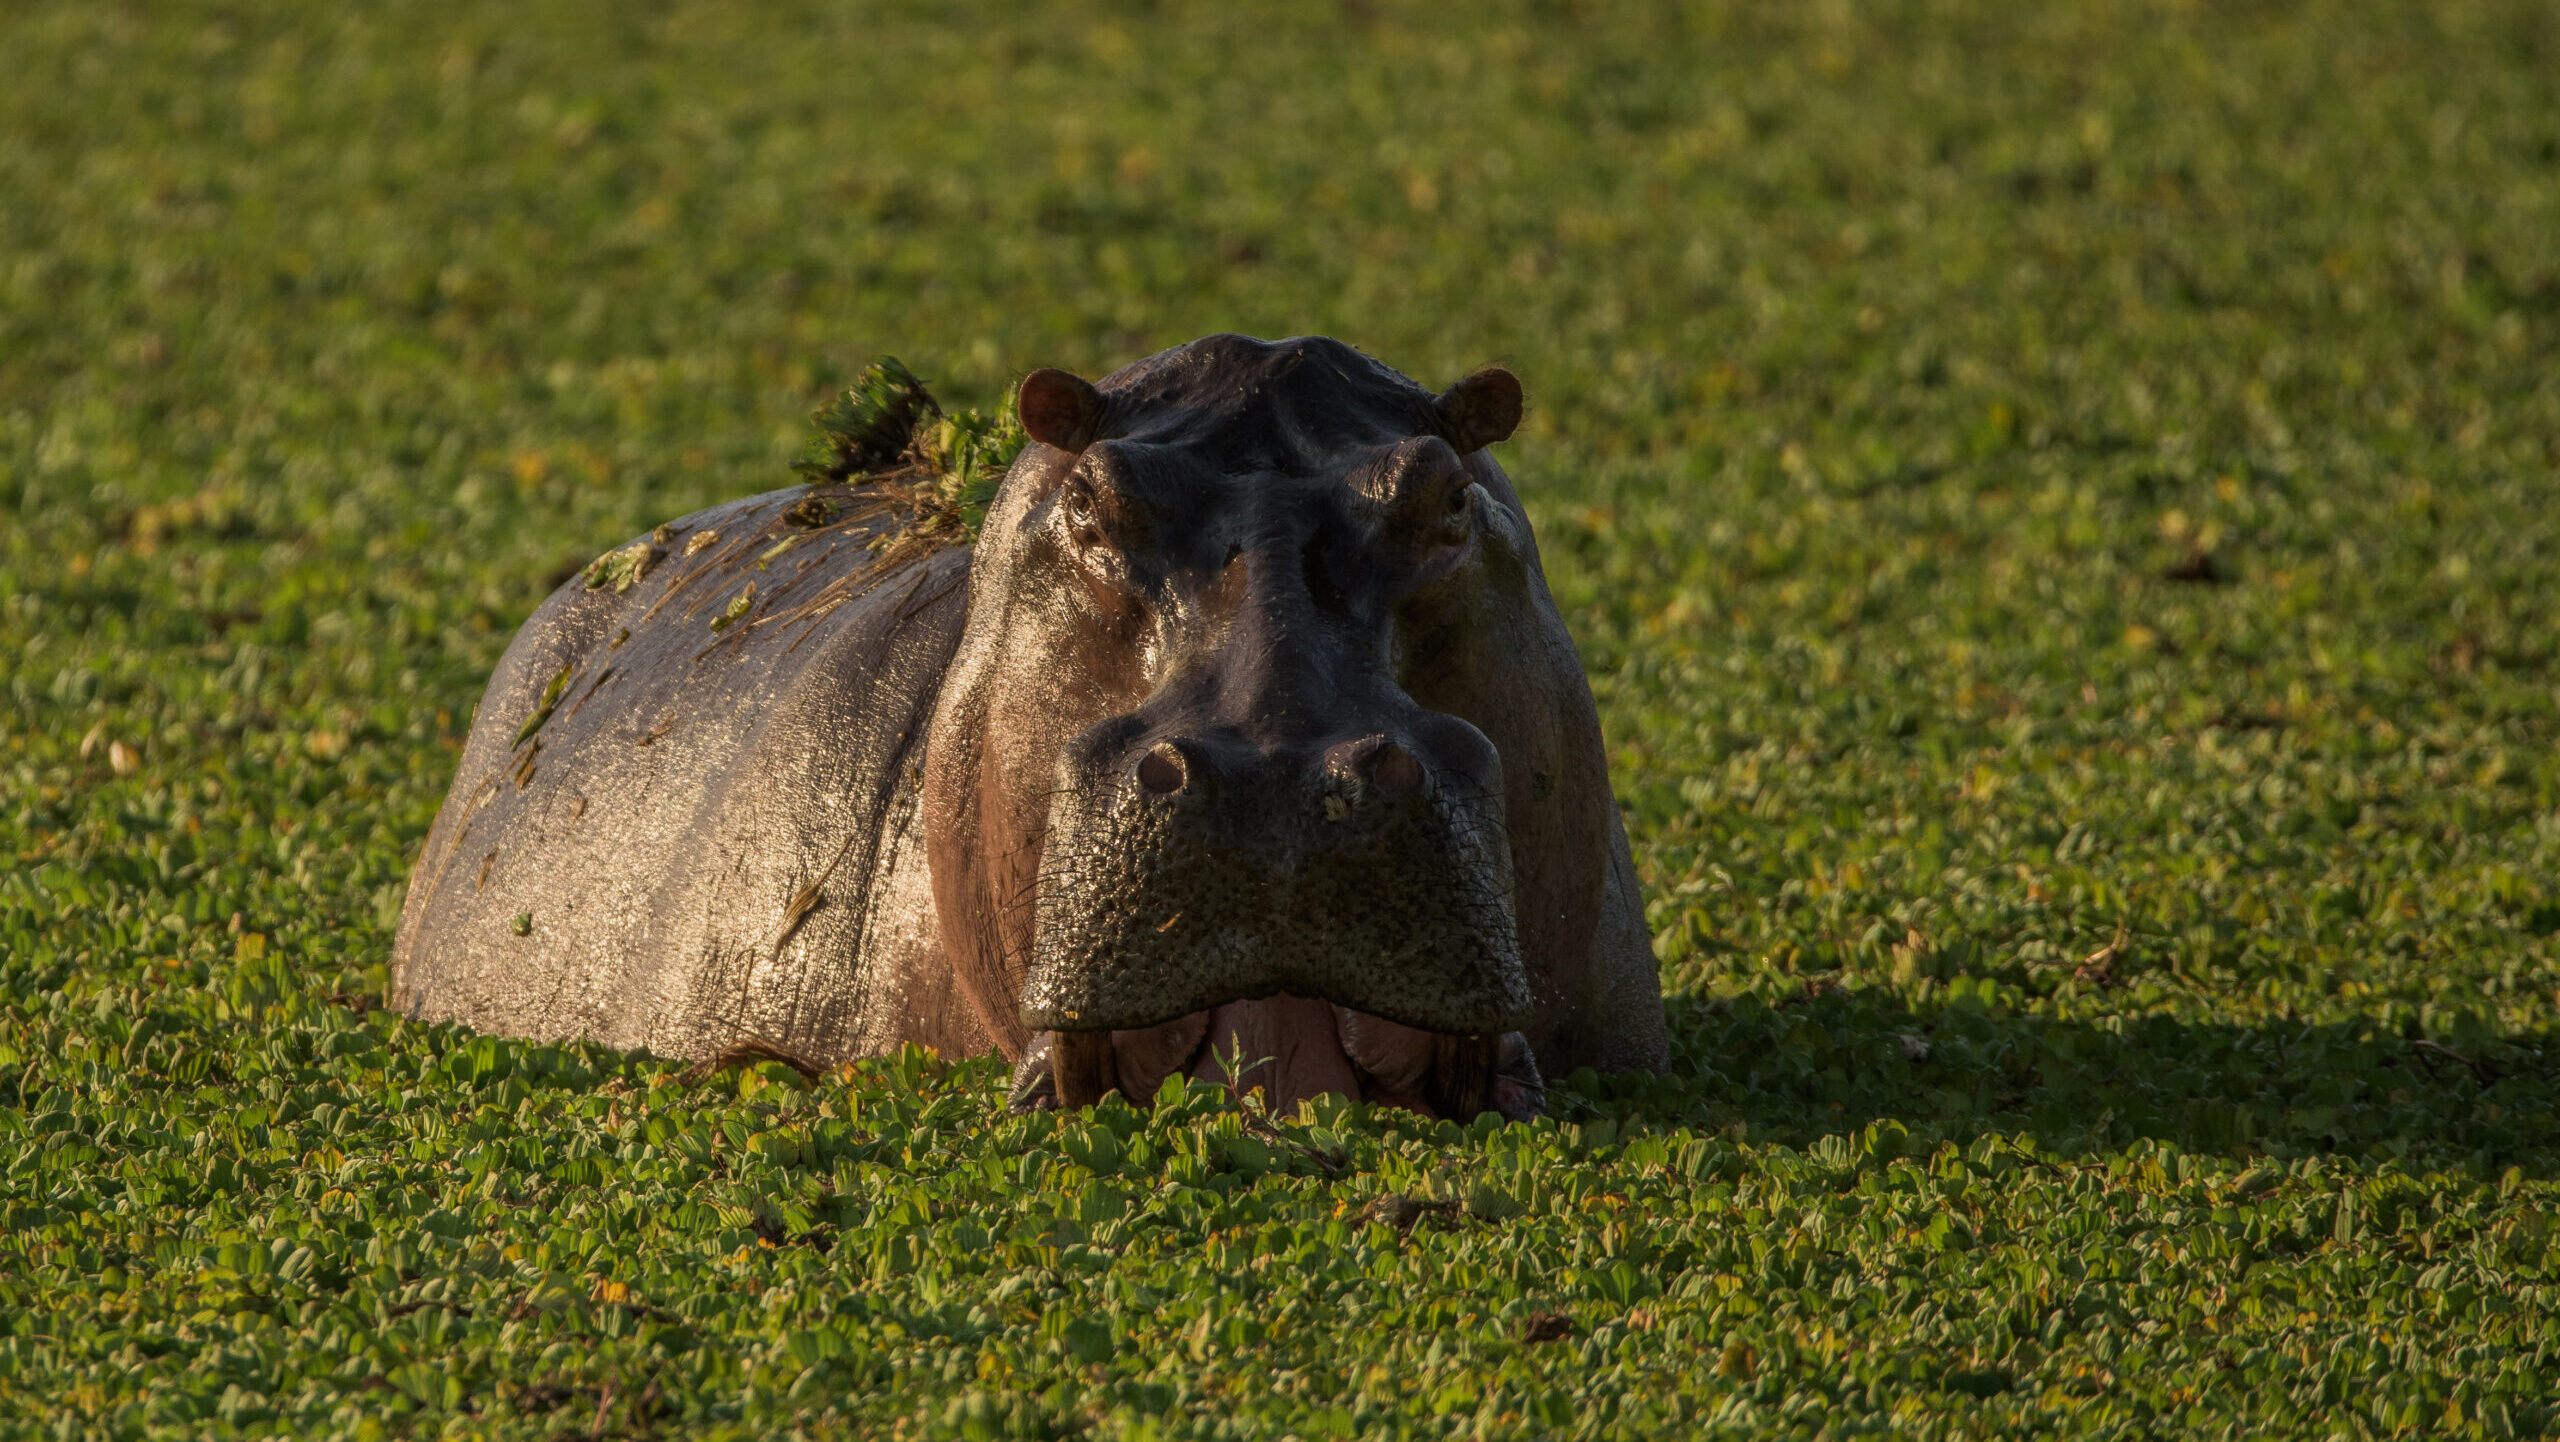
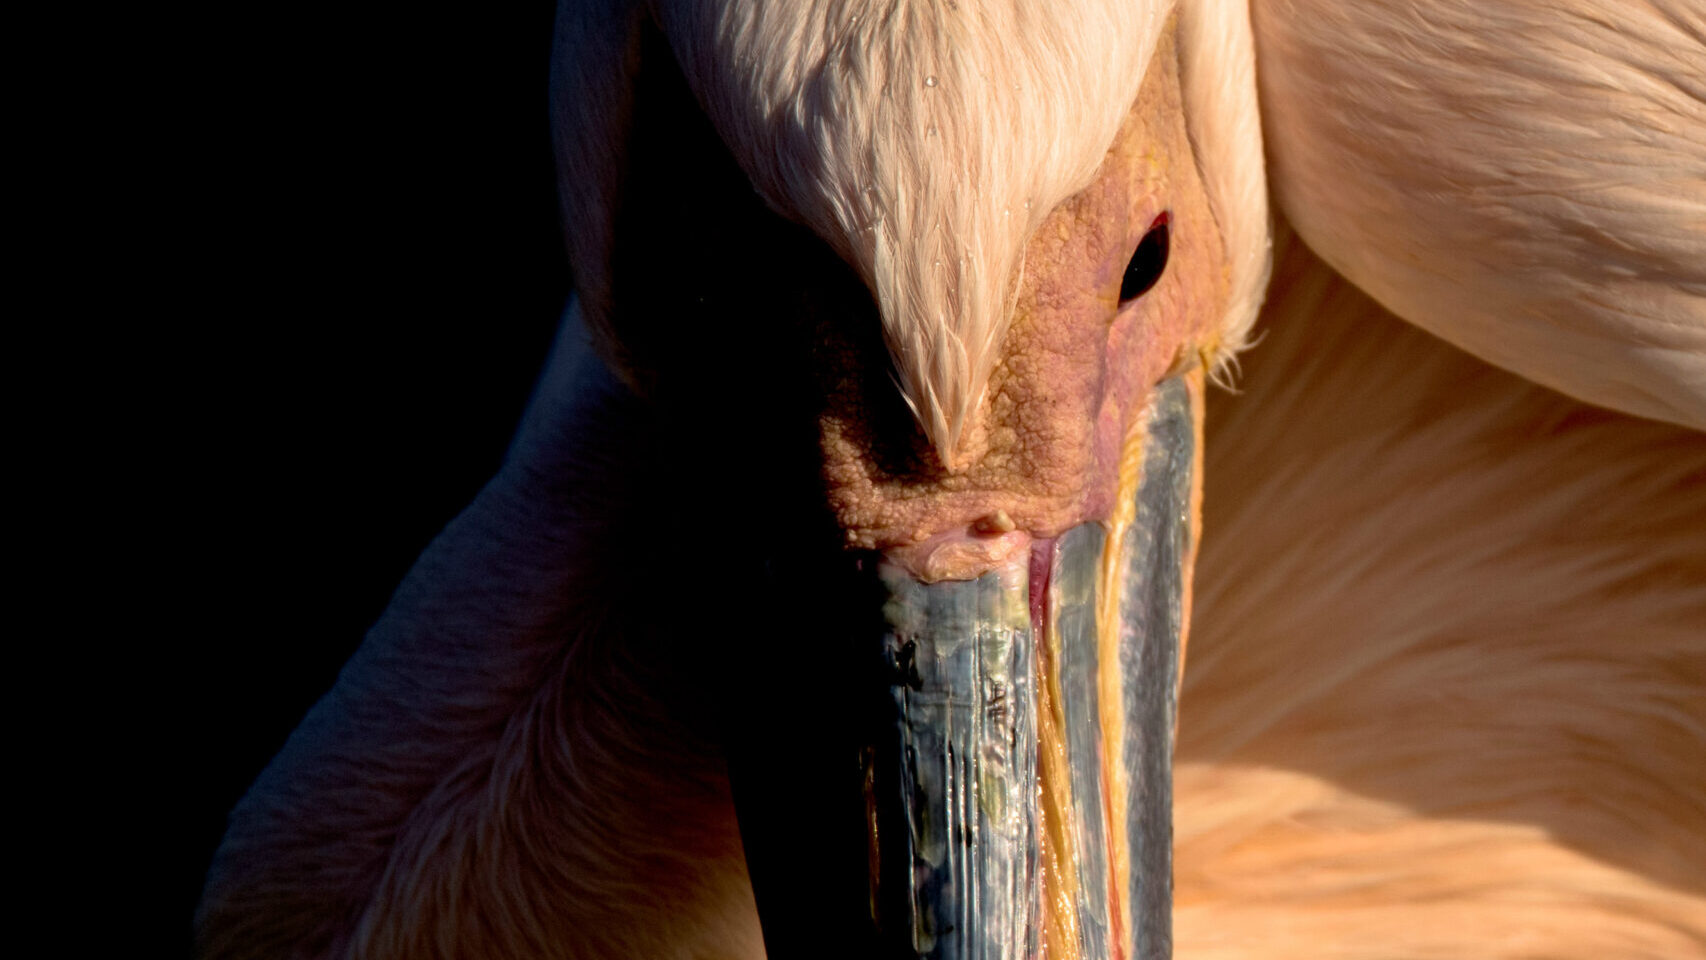
Use software like Adobe Lightroom or Photoshop to adjust the dynamic range, bringing out details in the shadows and highlights. Many professional wildlife photographers use these adjustments to balance exposure and enhance colors. Keep in mind that any adjusting you do will change the look of your image. You need to decide how naturalistic or how ‘processed’ you want your images to feel.
Use tools like radial filters or adjustment brushes in Lightroom for selective color enhancements. This helps your subjects stand out against varied backgrounds without affecting the entire image.
Increase clarity and sharpness to enhance fine details and make colors more vivid. Be careful not to overdo it, as excessive sharpening can look artificial or introduce artifacts and unwanted noise.
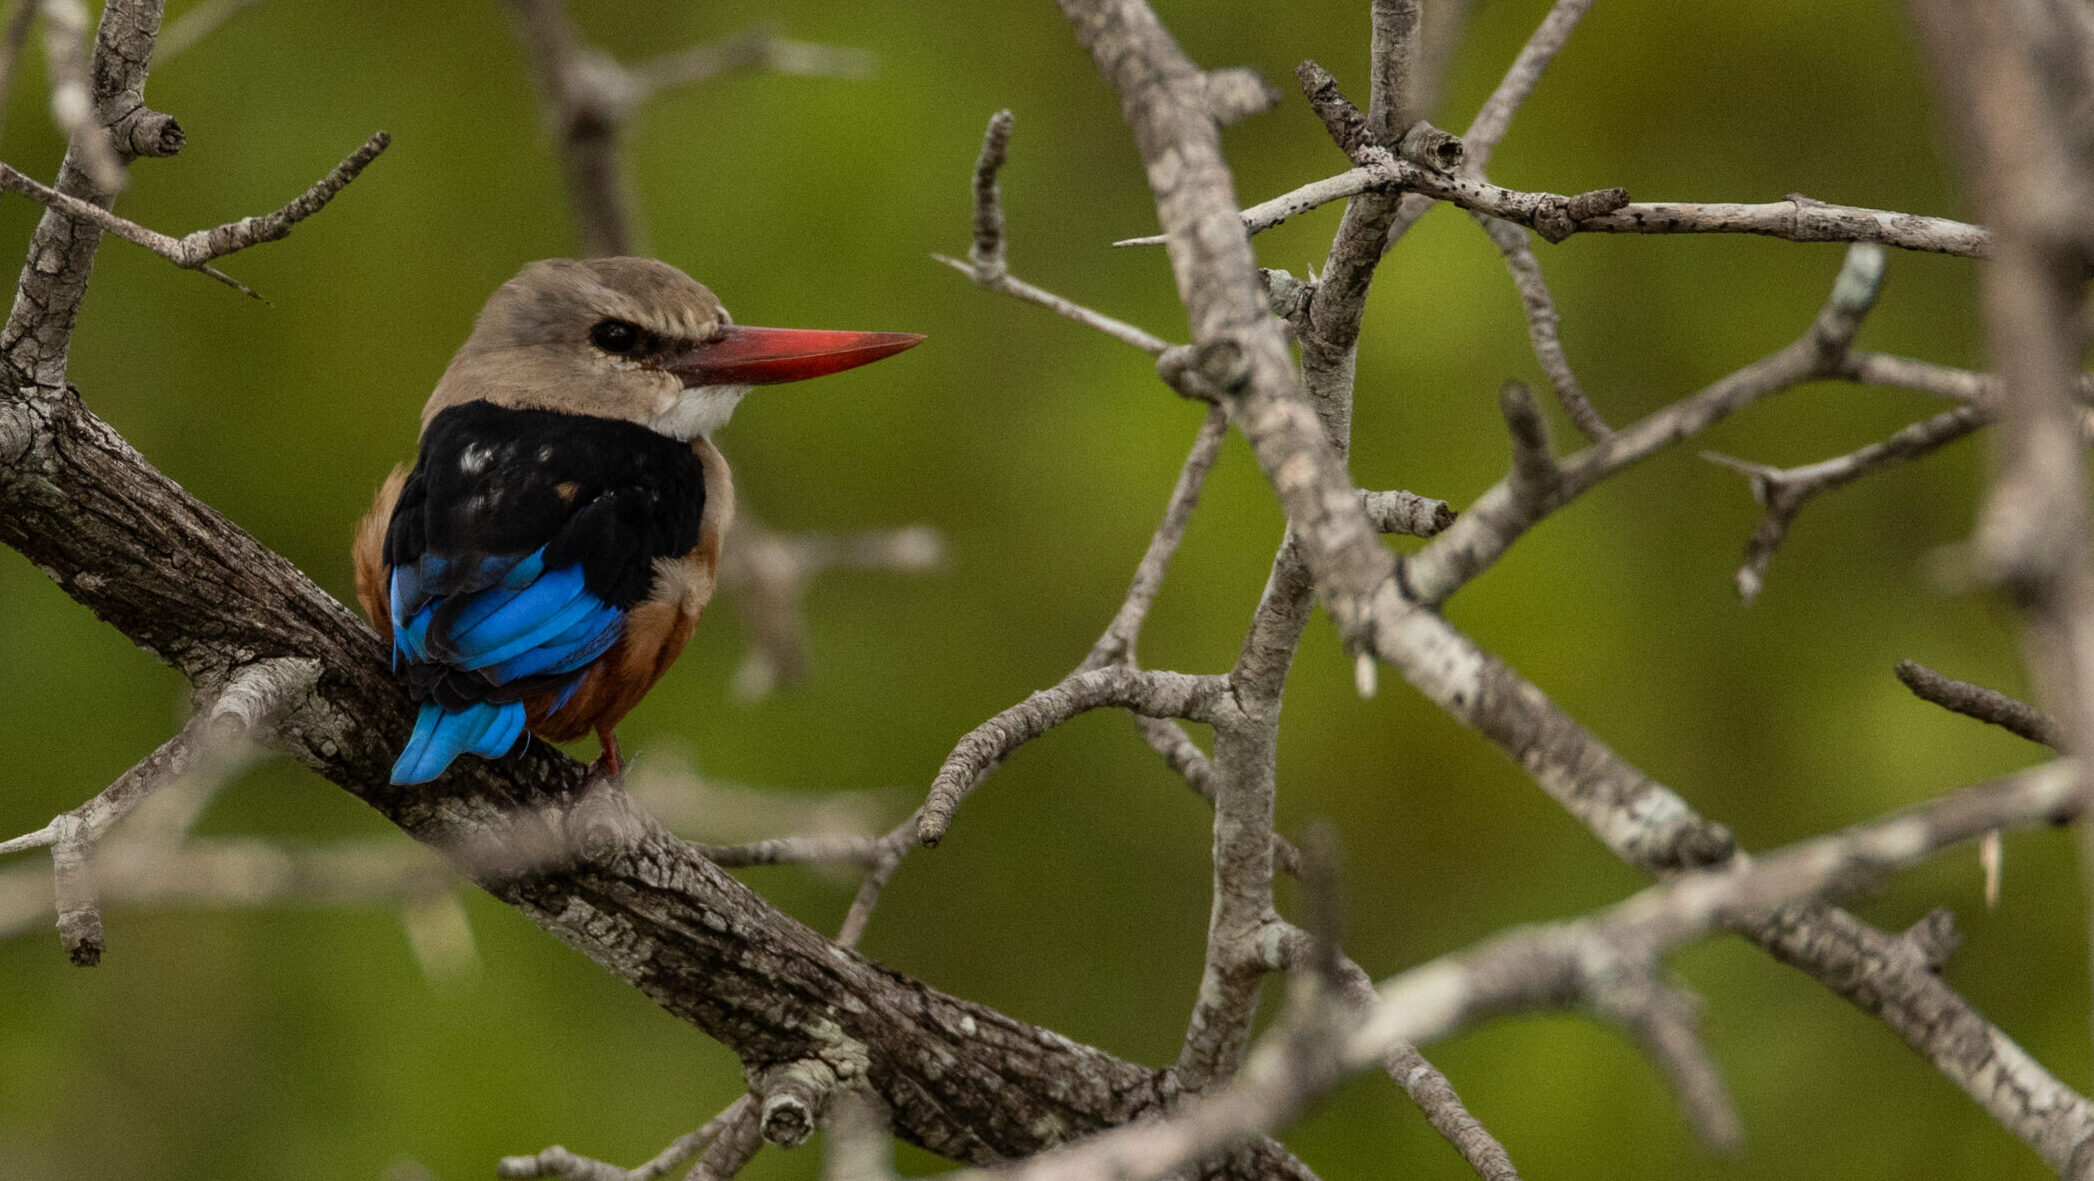
It keeps being repeated but patience and knowledge of your subject informs everything in wildlife photography. Understanding the behavior and habits of the wildlife you’re photographing helps anticipate moments and position yourself for optimal lighting and colors.
Great wildlife photography often requires waiting for the right moment. Be prepared to spend hours in one spot, waiting for the perfect light or for the animal to move into the ideal position.
Achieving colorful wildlife photographs in harsh lighting requires a combination of advanced techniques, field strategies, and post-processing skills. By mastering these methods and incorporating expert tips from photographers you follow on Instagram or other channels, you can capture stunning and vibrant images even in the most challenging lighting conditions. Embrace the harsh light and use it to your advantage to create extraordinary wildlife photography. Have fun out there!
If you’d like to know more about my photography or want some extra tips and tricks, then follow me on Instagram!